How to fry Chicken in a Pan with Oil
Remember the first time you tried to fry chicken and ended up with burnt outsides and raw insides? You’re not alone. 68% of home cooks say fried chicken is the dish they’re most afraid to attempt.
Learning how to fry chicken in a pan with oil isn’t rocket science – it’s about understanding a few key principles that restaurant chefs never tell you.
I’ve spent 15 years perfecting this technique after disasters that had my family ordering takeout. Now I can teach you to achieve that golden, crispy coating with juicy meat inside using just a regular pan and some oil.
But before I reveal my foolproof method, there’s one surprising ingredient most people completely overlook that makes all the difference…
Essential Equipment for Perfect Pan-Fried Chicken

A. Choosing the Right Pan: Cst Iron vs. Non-Stick
Look, the pan you choose will make or break your fried chicken game. It’s that simple.
Cast iron pans are the undisputed champions for serious chicken frying. They hold heat like nobody’s business and distribute it evenly, giving you that perfect golden crust. Plus, they last forever if you treat them right. The downside? They’re heavy as heck and require some TLC with seasoning and cleaning.
Non-stick pans are the convenient option. They’re lightweight, easy to clean, and you’ll use less oil. But here’s the truth – they won’t give you that same deep, crispy crust. And cranking the heat too high can damage that non-stick coating.
| Pan Type | Pros | Cons |
|---|---|---|
| Cast Iron | Superior crust, excellent heat retention, lasts generations | Heavy, requires maintenance, takes longer to heat up |
| Non-Stick | Easy cleanup, less oil needed, lightweight | Less crispy results, temperature limitations, shorter lifespan |
My advice? Go cast iron if you’re serious about your fried chicken. Your taste buds will thank you.
B. Best Oils for Frying Chicken
Not all oils can handle the heat needed for perfect fried chicken. You need something with a high smoke point that won’t break down and taste funky.
Vegetable oil and canola oil are solid choices for most home cooks. They’re affordable, neutral in flavor, and can handle temperatures around 400-450°F without smoking.
Peanut oil is what the pros reach for. It has a high smoke point, adds a subtle nutty flavor, and creates incredibly crispy chicken. Just be mindful if you’re cooking for anyone with nut allergies.
Shortening (like Crisco) is old-school but delivers that nostalgic, Southern-style fried chicken taste. It creates a seriously crispy crust but is higher in trans fats.
Avoid olive oil for frying chicken. Despite being healthy for other cooking methods, its low smoke point makes it burn quickly, leaving your chicken with an off taste.
Whatever oil you choose, make sure it’s fresh. Old, reused oil creates a darker, less appetizing crust and can make your chicken taste weird.
C. Must-Have Kitchen Tools for Safe and Effective Frying
Frying chicken without the right tools is asking for trouble. Trust me on this one.
A reliable meat thermometer is non-negotiable. Chicken needs to hit 165°F internally to be safe, and guessing isn’t good enough. Digital thermometers give you readings in seconds.
Long tongs keep your hands safely away from hot oil splatter. Metal ones with silicone tips give you the best grip on slippery chicken pieces.
A splatter screen is worth every penny. It catches those painful oil pops while still letting steam escape. Your arms (and kitchen walls) will thank you.
Metal slotted spoons or spider strainers help you retrieve chicken pieces without bringing excess oil along for the ride.
Don’t forget heavy-duty oven mitts that cover your forearms. Those little cotton ones aren’t cutting it when you’re dealing with hot oil.
D. Setting Up Your Frying Station
Getting your frying station right before you start makes the whole process smoother and safer.
Start by clearing serious counter space. You need room for raw chicken, dredging ingredients, your pan, and a landing spot for the finished pieces. Cramped quarters lead to mistakes and burns.
Line up your workflow from left to right: raw chicken, dredging station, frying pan, and finally a cooling rack over a baking sheet. This prevents cross-contamination and keeps your chicken crispy.
For the cooling rack setup, place a wire rack on a baking sheet lined with paper towels. This allows air to circulate around your fried chicken pieces, keeping them crispy on all sides. Nothing worse than soggy-bottomed fried chicken.
Keep a kitchen fire extinguisher nearby. Not to freak you out, but hot oil fires happen, and water makes them worse. Better safe than sorry.
Finally, close nearby windows to prevent drafts. Sudden temperature changes can drop your oil temperature and give you greasy chicken.
Preparing Your Chicken for Maximum Flavor

A. Selecting the Best Chicken Cuts for Pan Frying
The secret to mouthwatering pan-fried chicken starts with choosing the right cuts. Bone-in, skin-on chicken pieces generally deliver the most flavor and moisture. Thighs and drumsticks are particularly forgiving for beginners since their higher fat content prevents them from drying out easily.
If you’re after quick-cooking options, boneless chicken thighs provide rich flavor while cooking faster than bone-in pieces. Chicken breasts work too, but they require more attention to prevent drying out. For even cooking, pound breast pieces to a uniform thickness of about ½ inch.
Dark meat contains more fat and collagen, resulting in juicier fried chicken. White meat cooks faster but can become dry if overcooked by just a minute or two.
B. Proper Cleaning and Trimming Techniques
Skip washing your chicken! The USDA and food safety experts agree that rinsing raw chicken actually spreads bacteria around your kitchen. Instead, simply pat the chicken dry with paper towels.
When trimming, remove excess fat and loose skin that might cause flare-ups in hot oil. For thighs and drumsticks, trim any hanging pieces of skin. If using chicken breasts, remove the tenderloins (the small strip on the underside) and cook them separately since they cook at different rates.
C. The Secret to Tender Chicken: Brining and Marinating
Brining is a game-changer for pan-fried chicken. A basic brine of 1/4 cup salt dissolved in 4 cups of water works wonders. Soak your chicken pieces for at least 30 minutes (or up to 4 hours in the refrigerator) for noticeably juicier results.
Buttermilk marinades tenderize chicken like nothing else. The mild acidity breaks down proteins without making the meat mushy. Mix buttermilk with a tablespoon of hot sauce, crushed garlic, and herbs for an overnight soak that’ll transform your chicken.
For a quick marinade, try a mixture of yogurt, lemon juice, and your favorite spices. Even 30 minutes makes a difference in tenderness and flavor.
D. Dry Rubs and Seasonings That Enhance Flavor
The best pan-fried chicken has layers of flavor, starting with seasonings that go directly on the meat. A basic mix of salt, black pepper, garlic powder, and paprika creates a solid foundation.
For something more exciting, try adding:
-
Smoked paprika for subtle smokiness
-
Cayenne pepper for heat
-
Brown sugar for a touch of sweetness that helps with browning
-
Dried herbs like thyme and oregano for aromatic depth
Don’t be shy with seasonings – chicken can handle bold flavors. Apply your dry rub at least 30 minutes before cooking to allow the flavors to penetrate the meat.
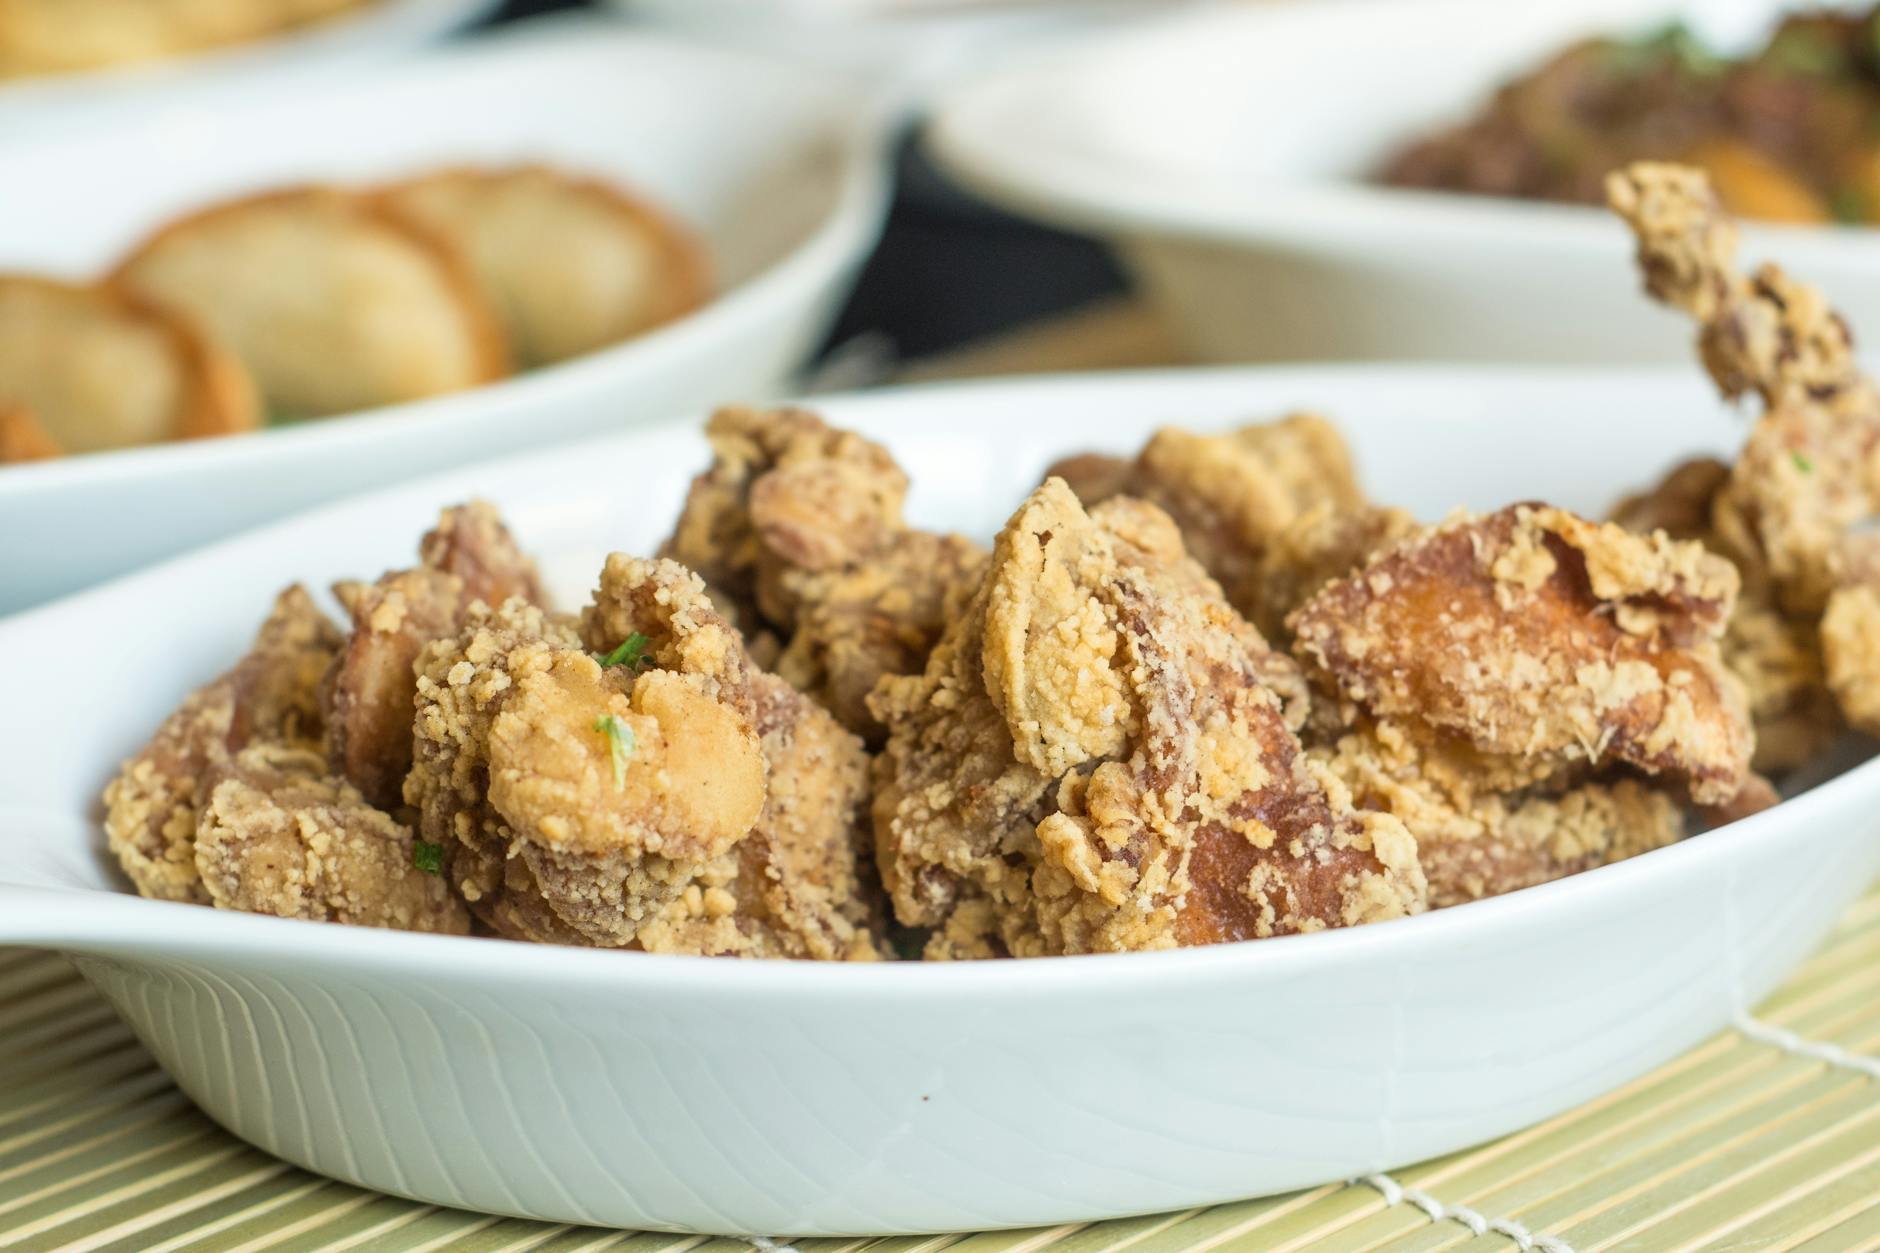
E. Creating the Perfect Coating for Crispy Chicken
The coating is what gives pan-fried chicken its irresistible crunch. For the crispiest results, try a three-step dredging process:
-
First station: Seasoned flour (with salt, pepper, and spices)
-
Second station: Beaten eggs mixed with a splash of milk or buttermilk
-
Third station: Either more seasoned flour or a mixture of flour and cornstarch for extra crispiness
For extra crunch, add cornmeal to your final dredge. Want even more texture? Mix in crushed crackers, panko breadcrumbs, or even crushed potato chips.
The key is pressing the coating firmly onto the chicken, then letting it rest for 10-15 minutes before frying. This rest time helps the coating adhere better so it doesn’t fall off during cooking.
For a lighter option, you can skip the egg wash and simply use seasoned flour, but you’ll sacrifice some crunchiness and adherence.